Toyota Century gallery / page 2
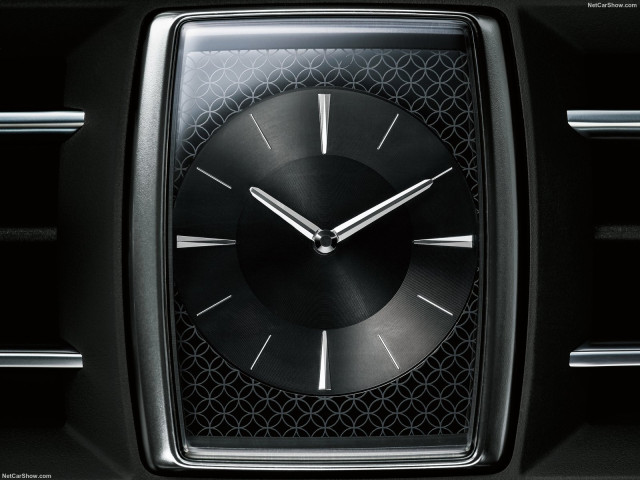 1600 x 1200
2018
1600 x 1200
2018
III (G60) · from 2018
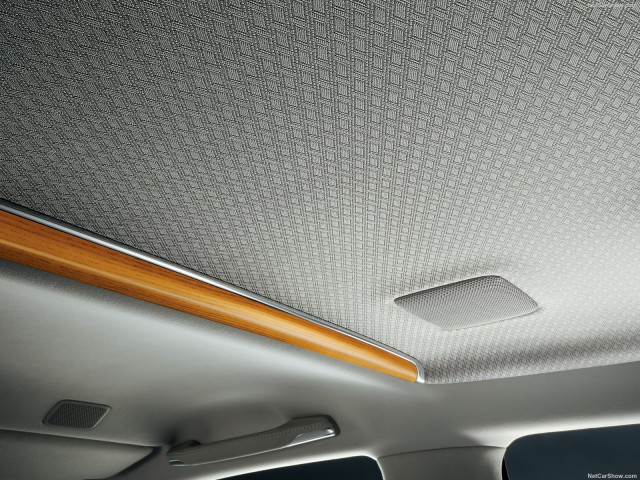 1600 x 1200
2018
1600 x 1200
2018
III (G60) · from 2018
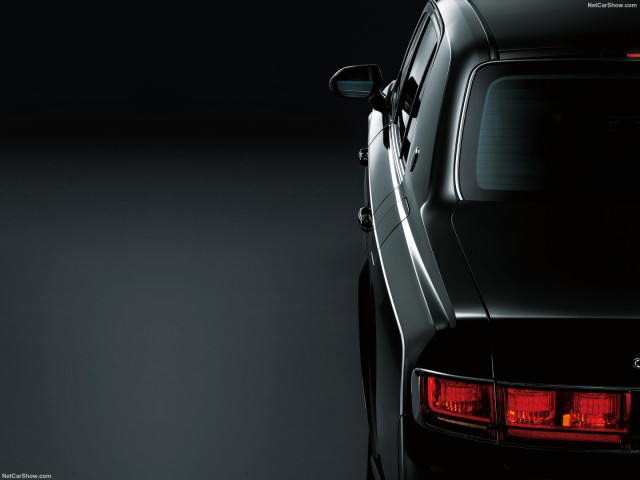 1600 x 1200
2018
1600 x 1200
2018
III (G60) · from 2018
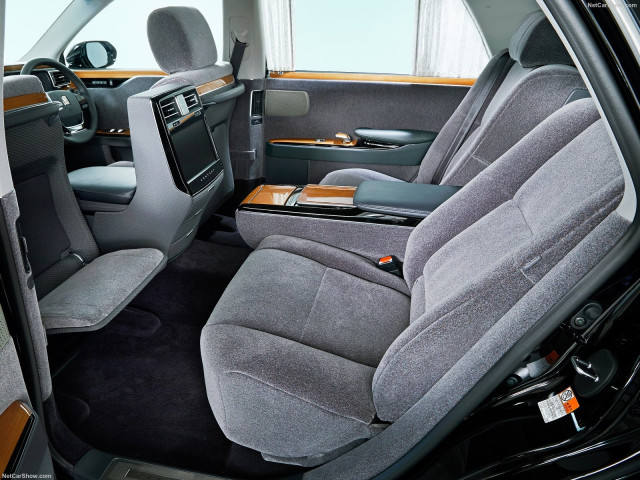 1600 x 1200
2018
1600 x 1200
2018
III (G60) · from 2018
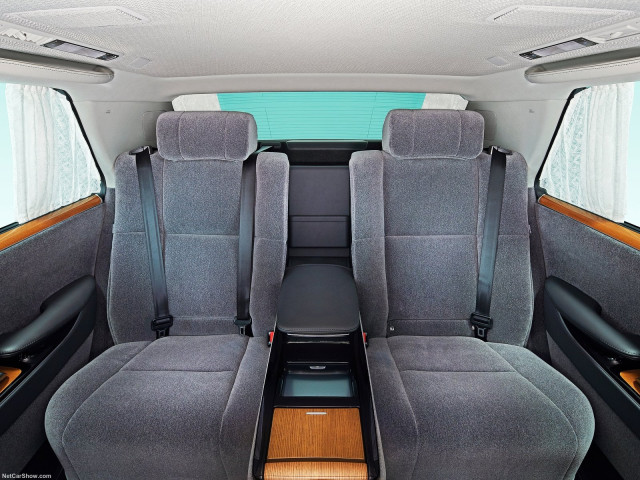 1600 x 1200
2018
1600 x 1200
2018
III (G60) · from 2018
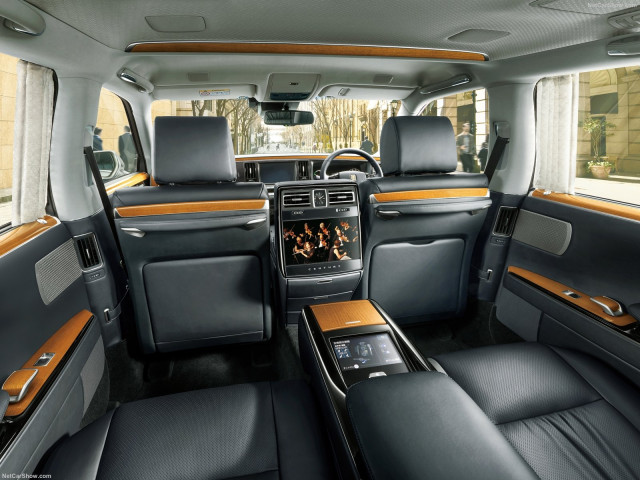 1600 x 1200
2018
1600 x 1200
2018
III (G60) · from 2018
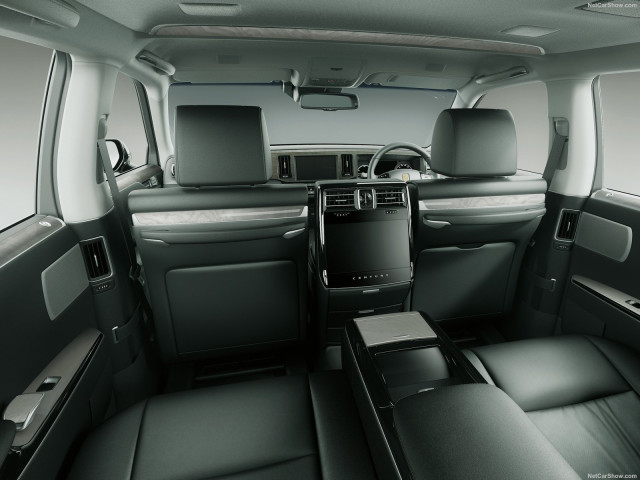 1600 x 1200
2018
1600 x 1200
2018
III (G60) · from 2018
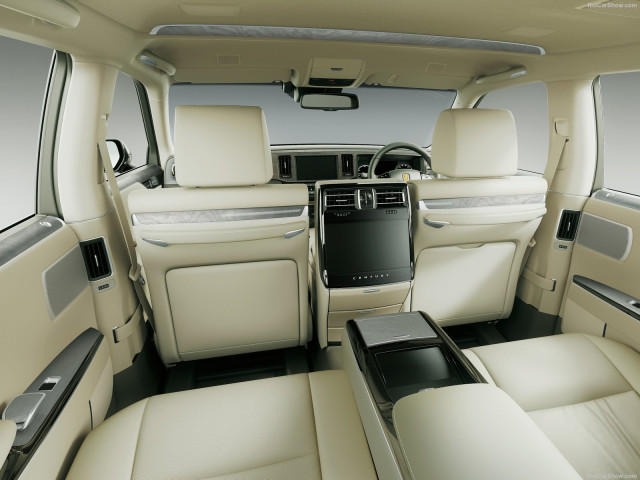 1600 x 1200
2018
1600 x 1200
2018
III (G60) · from 2018
 1600 x 1200
2018
1600 x 1200
2018
III (G60) · from 2018
 1600 x 1200
2018
1600 x 1200
2018
III (G60) · from 2018
 1600 x 1200
2018
1600 x 1200
2018
III (G60) · from 2018
 1600 x 1200
2018
1600 x 1200
2018
III (G60) · from 2018
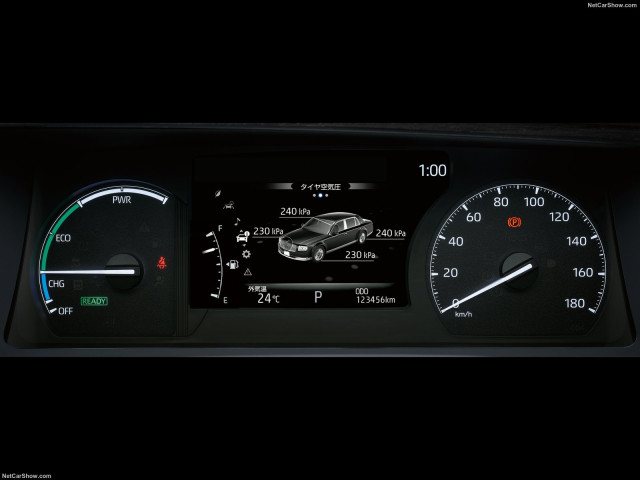 1600 x 1200
2018
1600 x 1200
2018
III (G60) · from 2018
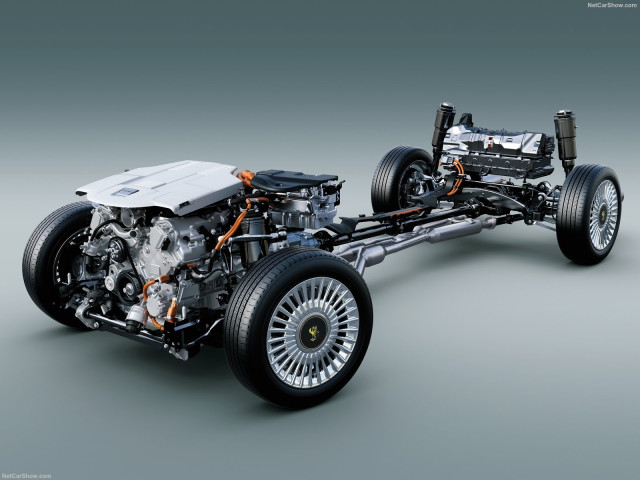 1600 x 1200
2018
1600 x 1200
2018
III (G60) · from 2018
3D render of a car chassis featuring the engine, hybrid system, transmission, suspension, and wheels on a neutral grey background.
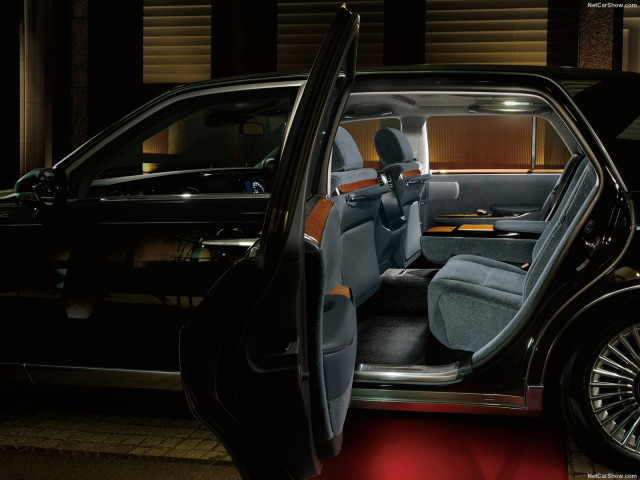
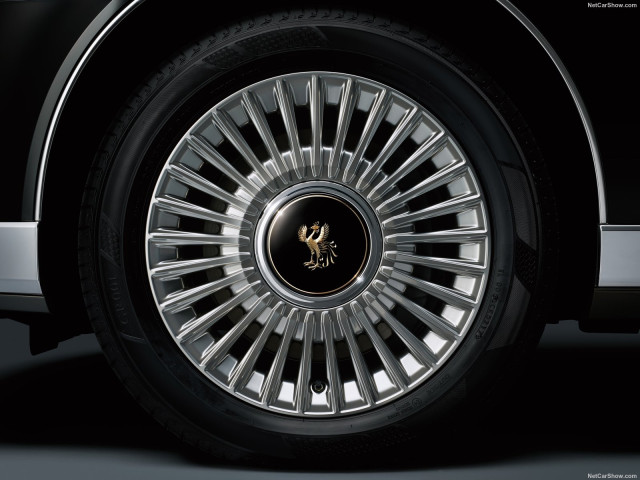
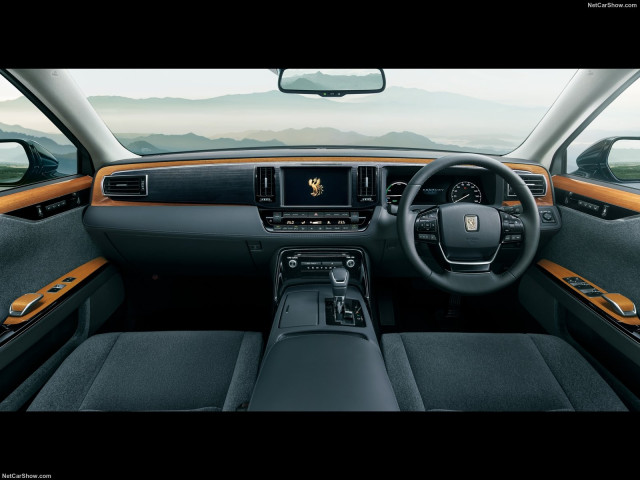
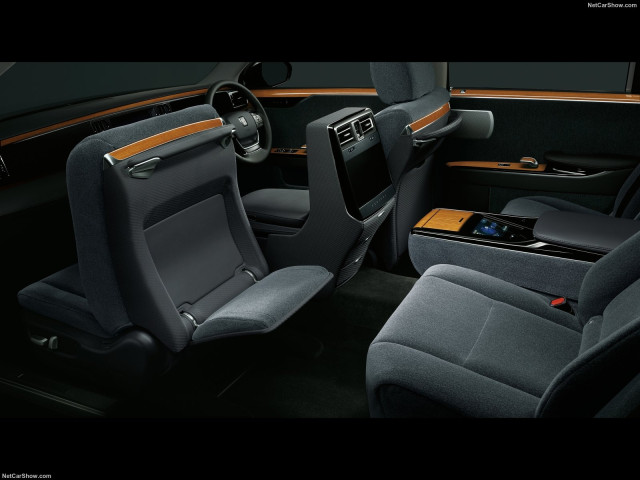
Toyota Century gallery page №2.